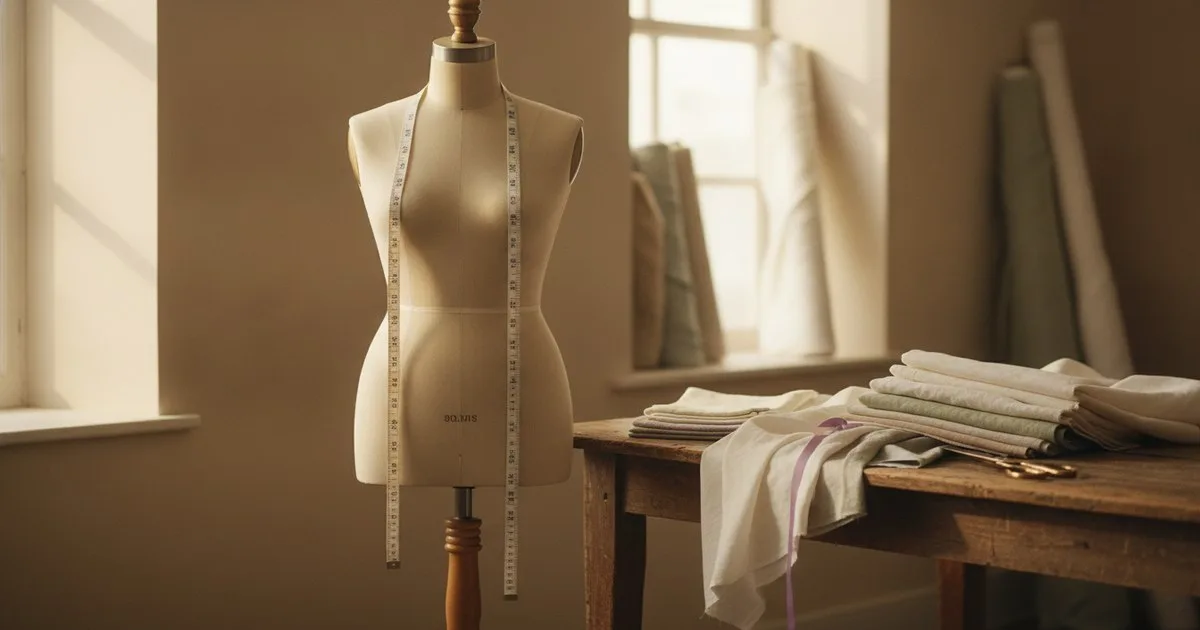
Made-to-measure clothing is cut to your dimensions rather than a standard size — which means it can fit you beautifully, or miss the mark entirely, depending on how well you and the maker communicate. The difference between a garment that feels like it was sewn onto you and one that just sits awkwardly on your shoulders usually comes down to three things: accurate measurements, clear notes about how your body moves and where it carries weight, and honest feedback at the fitting stage.
Key takeaways
- Measurements taken alone, without a helper, are almost always less accurate than those taken by a second person — and a single centimetre at the bust or hip can shift the whole fit.
- Your posture, dominant shoulder, and how you prefer a garment to sit (close or with ease) are as important as the numbers themselves.
- The fitting stage is a conversation, not a verdict: every alteration note you give a maker is information that improves the next garment too.
- Body-scanning tools now let some brands and tailors capture more than eighty measurements from two smartphone photos, reducing the guesswork on both sides.
- A made-to-measure order done well is one of the most sustainable ways to buy clothing — one garment, worn for years, made once.
What you need before you start
- A soft tape measure (the kind used for sewing, not a builder's metal rule)
- A helper — ideally someone patient, ideally not you
- A fitted, thin base layer to measure over (a vest or close-fitting T-shirt and leggings work well)
- A full-length mirror
- A notebook or your phone's notes app
- The maker's measurement guide, if they have provided one — read it before you reach for the tape
Step 1: Read the maker's guide before you measure anything
What to do: Every made-to-measure brand or tailor has their own conventions. Some measure the bust over the fullest point; others measure just under the arms. Some want the waist at the natural waist (the narrowest point); others want it at where you actually wear your trousers. Before you take a single measurement, read whatever guidance the maker has sent you, and note any terms you are not sure about. If there is no guide, ask.
Expected result: You know exactly which points on your body the maker wants measured, and in what order. You will not have to redo measurements because you used the wrong landmark.
Worth noting: If a maker offers a video call or an in-person appointment as part of the process, take it. Seeing how you stand and move tells a pattern-cutter things a number cannot.
Step 2: Take your measurements with a helper
What to do: Stand in your natural posture — not artificially tall, not slumped. Have your helper hold the tape parallel to the floor for circumference measurements (bust, waist, hip, upper arm, thigh) and straight down the body for length measurements (back length, sleeve length, inseam). The tape should sit snug against the body without pulling. Take each measurement twice and use the average if the two readings differ.
The measurements most people need for a dress, jacket, or trouser:
- Bust / chest: around the fullest point, tape parallel to the floor
- Waist: around the narrowest point, or wherever you prefer a waistband to sit
- Hip: around the fullest point, usually around 20–23 cm below the natural waist
- Back length: from the prominent bone at the base of your neck to your natural waist
- Shoulder width: from the edge of one shoulder to the other, across the back
- Sleeve length: from the shoulder point to the wrist bone, arm slightly bent
- Inseam (for trousers): from the crotch seam to the ankle bone
- Rise (for trousers): from the crotch seam to the waistband point, front and back separately
Expected result: A set of measurements you are confident in, taken consistently, that match the points the maker asked for.
Common mistake: Measuring over thick clothing, or holding your breath to appear slimmer. Neither helps you. The tape should skim the body, not compress it.
Step 3: Write your fit notes — the part most people skip
What to do: Numbers describe your body at rest. Fit notes describe how your body actually lives. After you send measurements, write a short paragraph — or a bullet list — covering:
- Posture and asymmetry. Do you carry one shoulder higher than the other? Do you have a sway back or a rounded upper back? These are common, and a good pattern-cutter can accommodate them if you mention them.
- Where you have had fit problems before. Shirts that pull across the upper back. Trousers that gap at the waistband. Dresses that are too long in the body. These are clues about where your proportions differ from a standard block.
- How you want the garment to feel. Close to the body, or with room to breathe? Do you raise your arms often — for work, for sport? Does the garment need to sit under a jacket?
- Any specific needs. A prosthesis, a brace, a preference for a higher neckline, a sensitivity to seams near the underarm.
Expected result: The maker has enough context to make decisions you would have made yourself, had you been standing in the workroom with them.
Step 4: Understand what technology can do — and what it cannot
What to do: Some brands now offer digital measurement tools as an alternative or supplement to a tape measure. Bold Metrics builds AI-powered body data platforms that map more than fifty measurements from the information you provide, helping brands match you to the right fit profile and reduce the likelihood of returns. 3DLOOK ships a body-scanning product that extracts more than eighty measurements from two smartphone photos — a process that takes under a minute — and is used by some apparel and wellness brands as part of their fitting workflow.
If the brand you are ordering from offers either kind of tool, use it: it gives the maker a richer picture of your proportions than a tape measure alone, and it creates a record you can reuse for future orders. If no digital tool is offered, a well-taken set of manual measurements and thorough fit notes will serve you just as well.
Expected result: You have provided the maker with the most complete picture of your body that their process allows.
Worth knowing: Digital scanning tools are most useful when the brand's pattern-cutter knows how to read the output. Ask whether the brand uses the scan data directly in their pattern-making, or whether it is mainly used for size recommendations.
Step 5: Communicate during production, not after
What to do: If the maker offers a muslin or toile fitting — a test version of the garment in an inexpensive fabric — accept it. This is the stage where fit problems are cheap to fix. At the fitting, look at:
- The shoulder seam. It should sit at the edge of your shoulder, not drooping onto your arm or pulling toward your neck.
- The bust or chest. There should be no pulling across the fullest point, and no excess fabric bunching below.
- The waist and hip. The garment should follow your silhouette without gripping or billowing.
- The length. Stand in the shoes you plan to wear with the garment.
- Movement. Sit down, raise your arms, walk a few steps. Note anything that pulls, rides up, or feels restrictive.
Write down every observation, even small ones. "The right sleeve feels slightly shorter than the left" is useful information. "It feels a bit off" is not.
Expected result: A list of specific, located alterations that the maker can act on directly.
Step 6: Give feedback in the maker's language
What to do: You do not need to know technical terms, but you do need to be specific about location and direction. Instead of "it's too tight," try: "there is pulling across the upper back when I raise my arms." Instead of "the waist is wrong," try: "the waist seam sits about two centimetres below my natural waist at the back." Photographs, taken in good light from the front, back, and side, are worth more than a paragraph of description.
Expected result: The maker can translate your feedback into a pattern correction without guessing what you meant.
If you are ordering remotely: Some makers will ask you to photograph yourself wearing the finished garment and mark the photographs with arrows or annotations. Take the time to do this properly — it protects both of you.
Step 7: Build your record for next time
What to do: Once the order is complete, save everything: your measurements, your fit notes, the alterations that were made, and any photographs. If you order from the same maker again, this record means the second garment starts closer to perfect than the first. If you order from someone new, it gives them a head start.
Expected result: Each made-to-measure order you place is easier and more accurate than the last.
Troubleshooting common fit problems
The garment fits in the measurements but feels wrong when I move. This is usually an ease problem — the garment has been cut with less movement allowance than you need. In your next order, specify how you want the garment to feel when you sit, raise your arms, or walk, and ask the maker what ease allowance they have built in.
One side fits and the other does not. Most bodies are asymmetrical. If you did not mention this in your fit notes, mention it now, and ask whether the pattern can be adjusted for each side separately. Many makers will do this without additional charge if you ask early.
The length is right but the proportions feel off. Length and proportion are different things. A garment can be the right length and still feel too boxy or too narrow in the body. Go back to your fit notes and describe the silhouette you were expecting — a photograph of a garment you love as a reference is often the clearest way to communicate this.
The maker has not responded to my alteration request. Follow up in writing, with photographs if possible. A clear, documented request is harder to overlook than a verbal one, and it protects you if a dispute arises.
What success looks like
A made-to-measure garment done well does not announce itself. It simply fits — through the shoulders, across the back, at the waist — without you having to think about it. You can sit, reach, and move without adjusting anything. The fabric falls the way it was meant to. You reach for it often, and you wear it for years. That is the point.
FAQ
Can I take my own measurements without a helper? You can, but self-measurements are often slightly off, particularly for back width and shoulder measurements. If you must measure alone, use a mirror and take each measurement twice. For the back, a flexible ruler or a second tape held in place with a clip can help.
What if I am between sizes even in made-to-measure? Made-to-measure should not have a "between sizes" problem — the pattern is drafted to your measurements, not to a size range. If you are getting that feedback, ask the maker to clarify which measurement they are working from and what ease allowance they are applying.
How many fittings should I expect? For a first order with a new maker, one toile fitting and one final fitting is a reasonable expectation. For a repeat order with an established record, some makers can go straight to the final garment. Remote orders typically rely on photographs rather than in-person fittings.
Is made-to-measure worth the cost compared to off-the-rack? For garments you plan to wear often and keep for a long time, the cost-per-wear calculation usually favours made-to-measure. One well-fitting coat worn for a decade costs less, in every sense, than three ill-fitting ones replaced every few years.
What is the difference between made-to-measure and bespoke? Made-to-measure starts from an existing pattern block that is adjusted to your measurements. Bespoke — in the traditional sense — starts from a pattern drafted specifically for you, from scratch. Bespoke typically involves more fittings, takes longer, and costs more; made-to-measure is more accessible and, done well, produces results that are hard to distinguish from bespoke for most garments.